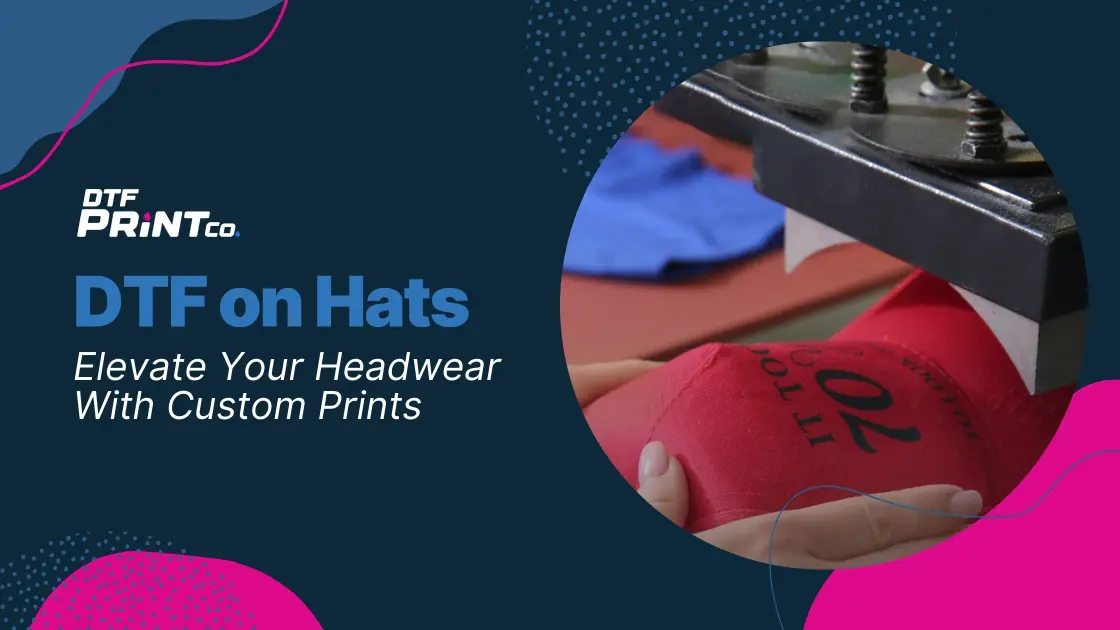
DTF on Hats: Elevate Your Headwear With Custom Prints
Custom headwear is no longer just a niche corner of fashion—it’s a bold statement, a walking billboard, and a deeply personal piece of wearable art. And now, thanks to DTF printing (Direct to Film), designing and producing custom hats is not only easier—it’s way more exciting.
Whether you’re a small business, a fashion designer, a merch brand, or just someone who loves dope hats, this guide is here to break it all down. We’re diving deep into how DTF printing is flipping the script on headwear design, how to do it step by step, why it’s a game-changer, and how to make your hats stand out from the rest.
Let’s get into it.
What Exactly Is DTF Printing? (And Why Is It So Hot Right Now?)
If you haven’t heard of DTF printing before, don’t worry—you’re not behind. This method is still gaining traction, but those in the know are already obsessed.
In simple terms:
DTF stands for Direct to Film. It’s a printing method where you use a special printer to lay down ink onto a clear film, add a powder adhesive, cure the design, and then use a heat press to apply it to fabric. Think of it like printing a tattoo and then pressing it onto a shirt—or in this case, a hat.
What makes it so special?
- It works on almost all fabrics – cotton, polyester, blends, even leatherette and neoprene.
- No weeding, no layers, no mess – unlike HTV or vinyl.
- Incredible color vibrancy – full gradients, neon pops, and ultra-fine detail.
- Great durability – won’t crack or peel with wear.
- Print once, apply anytime – you can pre-print transfers and use them as needed.
It’s easy to see why people are calling DTF the future of fabric printing.
Why Hats + DTF = A Match Made in Print Heaven
Hats have always been tricky in the printing world. Curved panels, structured shapes, limited space—traditional methods like screen printing or embroidery have limitations. That’s where DTF shines.
Let’s break it down with a comparison:
| Feature | Screen Printing | Embroidery | Heat Vinyl | DTF |
| Full-color support | No | No | Yes | Yes |
| Fine details | No | No | Yes | Yes |
| Curved surface compatibility | No | Yes | No | Yes |
| Fast turnaround | No | No | Yes | Yes |
| Lightweight feel | Yes | No | Yes | Yes |
| Cost-effective for small runs | No | No | Yes | Yes |
DTF printing solves pain points that other methods just can’t handle. Whether you’re customizing five hats or five hundred, you’re getting high-end results with minimal fuss.
Types of Hats You Can Use DTF On
Don’t limit yourself to basic baseball caps. DTF works across a wide variety of headwear styles. Here’s a list of popular options:
Snapbacks
These structured caps are perfect for streetwear and branded merchandise. The flat front panel takes DTF prints like a dream.
Trucker Hats
Ideal for big, bold logos and graphics. The foam front panel is a fantastic surface for applying DTF designs.
Dad Hats
Soft, unstructured, and stylish. These are perfect for minimalist designs, small text, or embroidered-look graphics.
5-Panel & Camper Hats
Big among outdoor brands and indie fashion labels. The front panel is usually large and flat enough for creative DTF placements.
Beanies
Yes, DTF works on beanies too—especially when paired with felt or fleece linings. Just apply with care and use a pressing pillow to support the stretch.
Bucket Hats
The wide, floppy canvas offers great real estate for unique and experimental designs.
If it can take heat and has a fabric surface, you can probably DTF it.
Step-By-Step: How to DTF Print on Hats Like a Pro
Ready to get hands-on? Here’s a detailed walk-through from design to press.
1. Prep Your Design
Create your artwork in Photoshop, Illustrator, Canva, or Procreate—anything that lets you design in high resolution (300 DPI).
Best formats: PNG with transparent background or TIFF for print shops.
Design Tips:
- Keep the design within 3–4 inches wide.
- Consider the curve of the hat—center your key elements.
- Add a contour or white border if the hat color is dark.
2. Print Onto Film
Load your design into a DTF printer (like the Prestige A3+ or L1800). The printer will lay down CMYK color first, followed by a white ink layer to back it.
If you’re outsourcing to a print supplier, just send them your file and let them do the magic.
3. Apply Hot-Melt Powder
Once the ink is still wet on the film, apply hot-melt adhesive powder evenly across the design.
Shake off excess and make sure there are no clumps. This step is crucial for getting a clean, long-lasting press.
4. Cure the Film
Now cure the film using:
- A curing oven, or
- A heat press in hover mode (don’t press it down—just hover)
Time/temp: 280–300°F for about 2–3 minutes until the powder melts and becomes slightly glossy.
5. Press the Design Onto Your Hat
Use a hat heat press with a curved platen. Place a heat pressing pillow or foam insert inside the hat to create a flat surface.
Position your transfer, then press for 10–15 seconds at 300–320°F with medium pressure.
6. Let It Cool (Cold Peel)
DTF is a cold peel process—so don’t rush. Let the film cool down before peeling it off. This ensures a clean edge and full adhesion.
Once peeled, hit it with a second press (5 seconds with parchment paper) to lock it in.
Bonus Tips From Real Creators Using DTF on Hats
We reached out to a few small business owners who’ve made DTF hats part of their product line. Here’s what they shared:
“DTF gave me freedom over color.”
With embroidery, I was stuck using basic thread colors. DTF let me use full gradients and digital art-style prints that really pop.
— Ash, artist & streetwear designer
“It saved me time and money.”
I used to order 100 embroidered hats just to meet MOQs. Now I do 10 at a time with different designs.
— Marcus, small business owner
“Customers love the feel.”
People expect embroidery on hats. They’re surprised when I tell them it’s DTF because it’s so smooth, light, and detailed.
— Jamie, Etsy seller
Avoid These Common Mistakes With DTF on Hats
Even though DTF is beginner-friendly, there are a few things to watch out for.
Too Much Heat or Pressure
You don’t want to scorch the fabric or warp the shape. Use medium pressure and stick to the recommended temp range.
Wrong Hat Material
DTF works best on cotton, polyester, and blends. Avoid waterproof or super-stretchy hats unless you’ve tested the compatibility.
Designs Too Close to Seams
Keep designs away from stitching and seams to ensure a clean press.
Peeling Too Soon
Always wait until the film is cool before peeling. A hot peel can cause tearing or partial lifts.
DTF Transfers vs Embroidery vs Vinyl: What’s Best for Your Brand?
Here’s a quick snapshot to help you choose based on your goals:
| Factor | DTF Transfers | Embroidery | Vinyl |
| Best for Colorful, detailed designs | Yes | No | Yes |
| Fast for small batches | Yes | No | Yes |
| Wash Durability | High | High | Moderate |
| Price per hat | Low-Medium | High | Medium |
| Suitable for curved surfaces | Yes | Yes | No |
| Classic textured look | No | Yes | No |
Bottom line: If you’re aiming for versatility, fast production, and detailed graphics, DTF is your best bet.
Marketing Your DTF Custom Hats: Build Buzz, Sell Smart
Okay, your hats look amazing. Now let’s talk about getting them in front of the right people.
High-Quality Product Photography
Shoot your hats on models, flat lays, or styled shots. Show close-ups of the print detail.
Instagram Reels & TikToks
Behind-the-scenes videos of your print process are gold. Viewers love seeing how it’s made.
Custom Packaging
Make your unboxing experience memorable. Branded tissue, thank-you cards, and hat inserts go a long way.
Build a Story Around Each Drop
Treat your designs like art releases. Tie them to a theme, a cause, or a limited-time collection.
(FAQ)
1. Can you really use DTF on curved hat surfaces without issues?
Yes. DTF works exceptionally well on curved hat panels like those on snapbacks and dad hats. Using a curved heat press or pressing pillow ensures full adhesion without cracks or warping.
2. Do I need a special heat press to apply DTF on hats?
While a standard flat press works for shirts, hats require a curved platen heat press. These are designed to fit the natural curve of headwear and apply even pressure during transfer.
3. How long do DTF prints last on hats?
DTF transfers are highly durable and designed to withstand frequent wear. With proper curing and application, prints can last 50+ washes without fading, cracking, or peeling.
4. What kind of file do I need to create a DTF design for hats?
Use high-resolution PNG or TIFF files (300 DPI) with transparent backgrounds. Keep your design within a 3 to 4-inch width and avoid excessive detail near seams or curves.
5. Can I order pre-printed DTF transfers and press them at home?
Absolutely. Many sellers offer ready-to-press DTF transfers. All you need is a heat press designed for hats and the correct time/temp settings to apply them.
Ready to Bring Your Hat Designs to Life?
Whether you’re starting your own merch line or want to elevate your brand with custom headwear, DTF printing is the way to go—and we’re here to help.
At DTFPrintCo.com, we make it easy to get high-quality DTF transfers for hats, apparel, and more. Order ready-to-press transfers, get expert advice, or let us handle the printing for you.
Visit DTFPrintCo.com to start creating head-turning hats today.
Custom. Durable. Vibrant. Fast. Just the way it should be.