The Difference Between Hot Peel and Cold Peel DTF Film
Direct To Film (DTF) printing is rapidly becoming a popular choice for custom apparel and garment decoration. Unlike traditional screen printing or direct-to-garment (DTG) methods,

Direct-to-Film (DTF) printing has become increasingly popular in the textile and garment industry thanks to its versatility and cost-efficiency. However, like any printing technique, mastering DTF requires attention to detail, especially when creating gang sheets. Avoiding common mistakes can save time, reduce costs, and lead to higher-quality prints. This guide walks you through the common pitfalls and provides actionable advice to help you create perfect DTF gang sheets.
Gang sheets are single sheets of film that contain multiple designs, allowing you to print several artworks simultaneously. This approach is ideal for batch production, reducing material wastage, and maximizing efficiency. In DTF printing, gang sheets help optimize the printing process, making it a practical choice for custom apparel businesses.
To create a successful DTF print, you need the right components: PET film, ink, adhesive powder, and a heat press. The PET film is the medium on which the design is printed using special DTF ink. The adhesive powder is applied to bond the ink with the fabric, and the heat press transfers the design from the film to the garment. Proper handling and coordination of these components are essential for a high-quality print.
One of the most common issues in creating DTF gang sheets is poor alignment. Only aligned prints can lead to consistent results, affecting the final product’s quality. The primary cause of poor alignment is an improperly set printer or inaccurate placement of the PET film.
To achieve proper alignment, ensure that the print head is calibrated correctly and that the media is loaded without any slack. Using registration marks can also help improve the accuracy of your prints, providing reference points for precise alignment.
Another frequent issue is an inadequate design layout. Poor layout planning can result in wasted space and difficulty during the cutting process. Ensure that the designs are properly spaced to avoid overlapping and to make cutting easier.
When preparing the layout, consider scaling and resizing your artwork to fit the available space efficiently. Effective design layout is crucial for optimizing material usage and reducing waste.
Another common mistake is using incorrect heat press settings, which can ruin an otherwise perfect print. Each fabric type requires different temperature, pressure, and time settings for a successful transfer. Incorrect heat press settings can lead to incomplete transfers, faded colors, or damaged fabric.
Always follow the manufacturer’s recommendations for temperature, pressure, and time to ensure a high-quality transfer. Testing on a sample garment is also a good idea to verify the settings before moving to full-scale production.
The quality of the artwork significantly impacts the final result. Low-resolution images can result in blurry or pixelated prints. Always ensure that your designs are created or exported at a high resolution—typically at least 300 DPI (dots per inch).
Rasterization of images is another important consideration. Vector graphics should be rasterized with the correct settings to maintain quality, and designs should include sufficient bleed to prevent gaps in the final print.
The white ink under the base is crucial for creating vibrant colors, especially when printing on dark fabrics. Without a proper underbase, colors can appear dull and washed out. Ensure that the artwork includes a layer for the white under base where needed, and double-check the RIP software settings to ensure the white ink is applied correctly.
Accurate color reproduction is critical in DTF printing. Incorrect color profiles or calibration errors can result in prints that look drastically different from the intended design. Always use the correct CMYK color profile for your printer and ensure that your equipment is properly calibrated.
Color separation is another key aspect—make sure the colors in your design are correctly separated to ensure accurate printing results.
Printer maintenance is vital for consistent print quality. Print head clogging is a common issue in DTF printing, especially when using white ink, which tends to settle. Perform regular nozzle checks and cleanings to prevent clogs and ensure smooth ink flow.
Applying adhesive powder evenly is essential for a successful transfer. Inconsistent powder application can lead to poor adhesion, resulting in parts of the design not sticking to the fabric. Use a shaker or a consistent technique to apply the powder evenly over the printed design.
Proper handling of PET film is crucial for preventing issues during printing. Ensure the film is not wrinkled or dirty, as these defects can affect the print quality. Correct media handling also involves maintaining appropriate film tension to avoid shifting during printing, which can lead to misaligned prints.
Incorrect temperature or pressure settings during the heat press process can result in poor-quality transfers. Too much pressure can cause the ink to spread, while too little can lead to incomplete adhesion.
Always set the heat press to the correct temperature and pressure based on the type of fabric and the ink used. Using a temperature gun can help verify that the heat press is providing even and accurate heat.
Curing is essential for achieving durable prints. The ink that is not fully cured will not adhere properly, leading to peeling and fading. A curing unit or a heat press is used to properly cure the ink after applying the adhesive powder. Ensure the temperature is consistent and adequate for the type of ink being used.
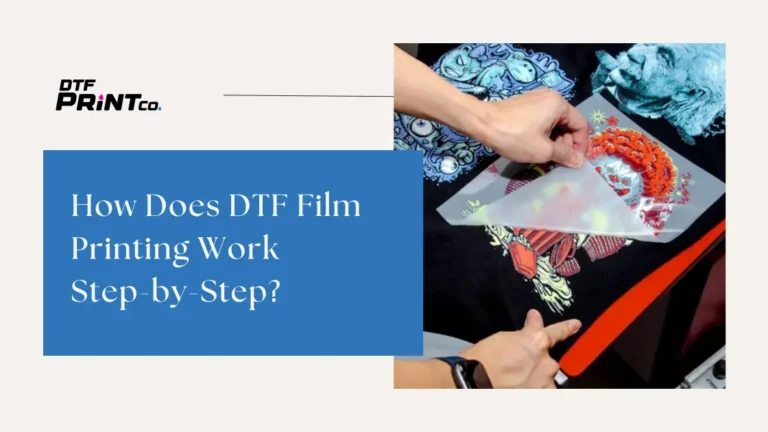
Different films and designs may require either a cold peel or a hot peel technique. Cold peel allows the design to set before the film is removed, while hot peel involves removing the movie while still hot. Understand the requirements for each type of film you are using to avoid damaging the transfer.
After transferring the design, it’s important to check for durability and consistency. Test the transferred prints for adhesion and flexibility by stretching the fabric slightly. This helps identify any issues with ink bonding or inconsistencies in the print.
Fabric shrinkage is a common issue that can affect the transferred design. Pre-treating the fabric to prevent shrinkage can help avoid this problem. Additionally, check for any uneven areas in the transfer to ensure that the entire design is properly adhered to.
Optimizing your workflow is key to reducing errors and improving production speed. Organize your workspace to ensure that all materials are readily accessible and that there is a clear path from printing to powder application, curing, and heat pressing.
Using tools such as registration marks and RIP software can significantly improve accuracy. Registration marks help with print alignment, while RIP software allows for precise color management and print settings, ensuring consistency throughout the production process.
Creating high-quality DTF gang sheets requires attention to detail and a thorough understanding of the process. By avoiding common mistakes such as poor print alignment, incorrect heat press settings, and inadequate artwork preparation, you can ensure consistent, vibrant, and durable transfers. Implement these tips into your workflow to achieve optimal results and enhance your production efficiency.

Direct To Film (DTF) printing is rapidly becoming a popular choice for custom apparel and garment decoration. Unlike traditional screen printing or direct-to-garment (DTG) methods,

If you’ve ever dreamed of creating your own custom shirts, hoodies, or tote bags without spending a fortune or dealing with messy screens, there’s some

If you’re looking to start or grow a custom apparel business, you’ve probably heard about DTF film and sublimation printing. These are two of the

2023 - 2024 © ALL RIGHTS RESERVED