
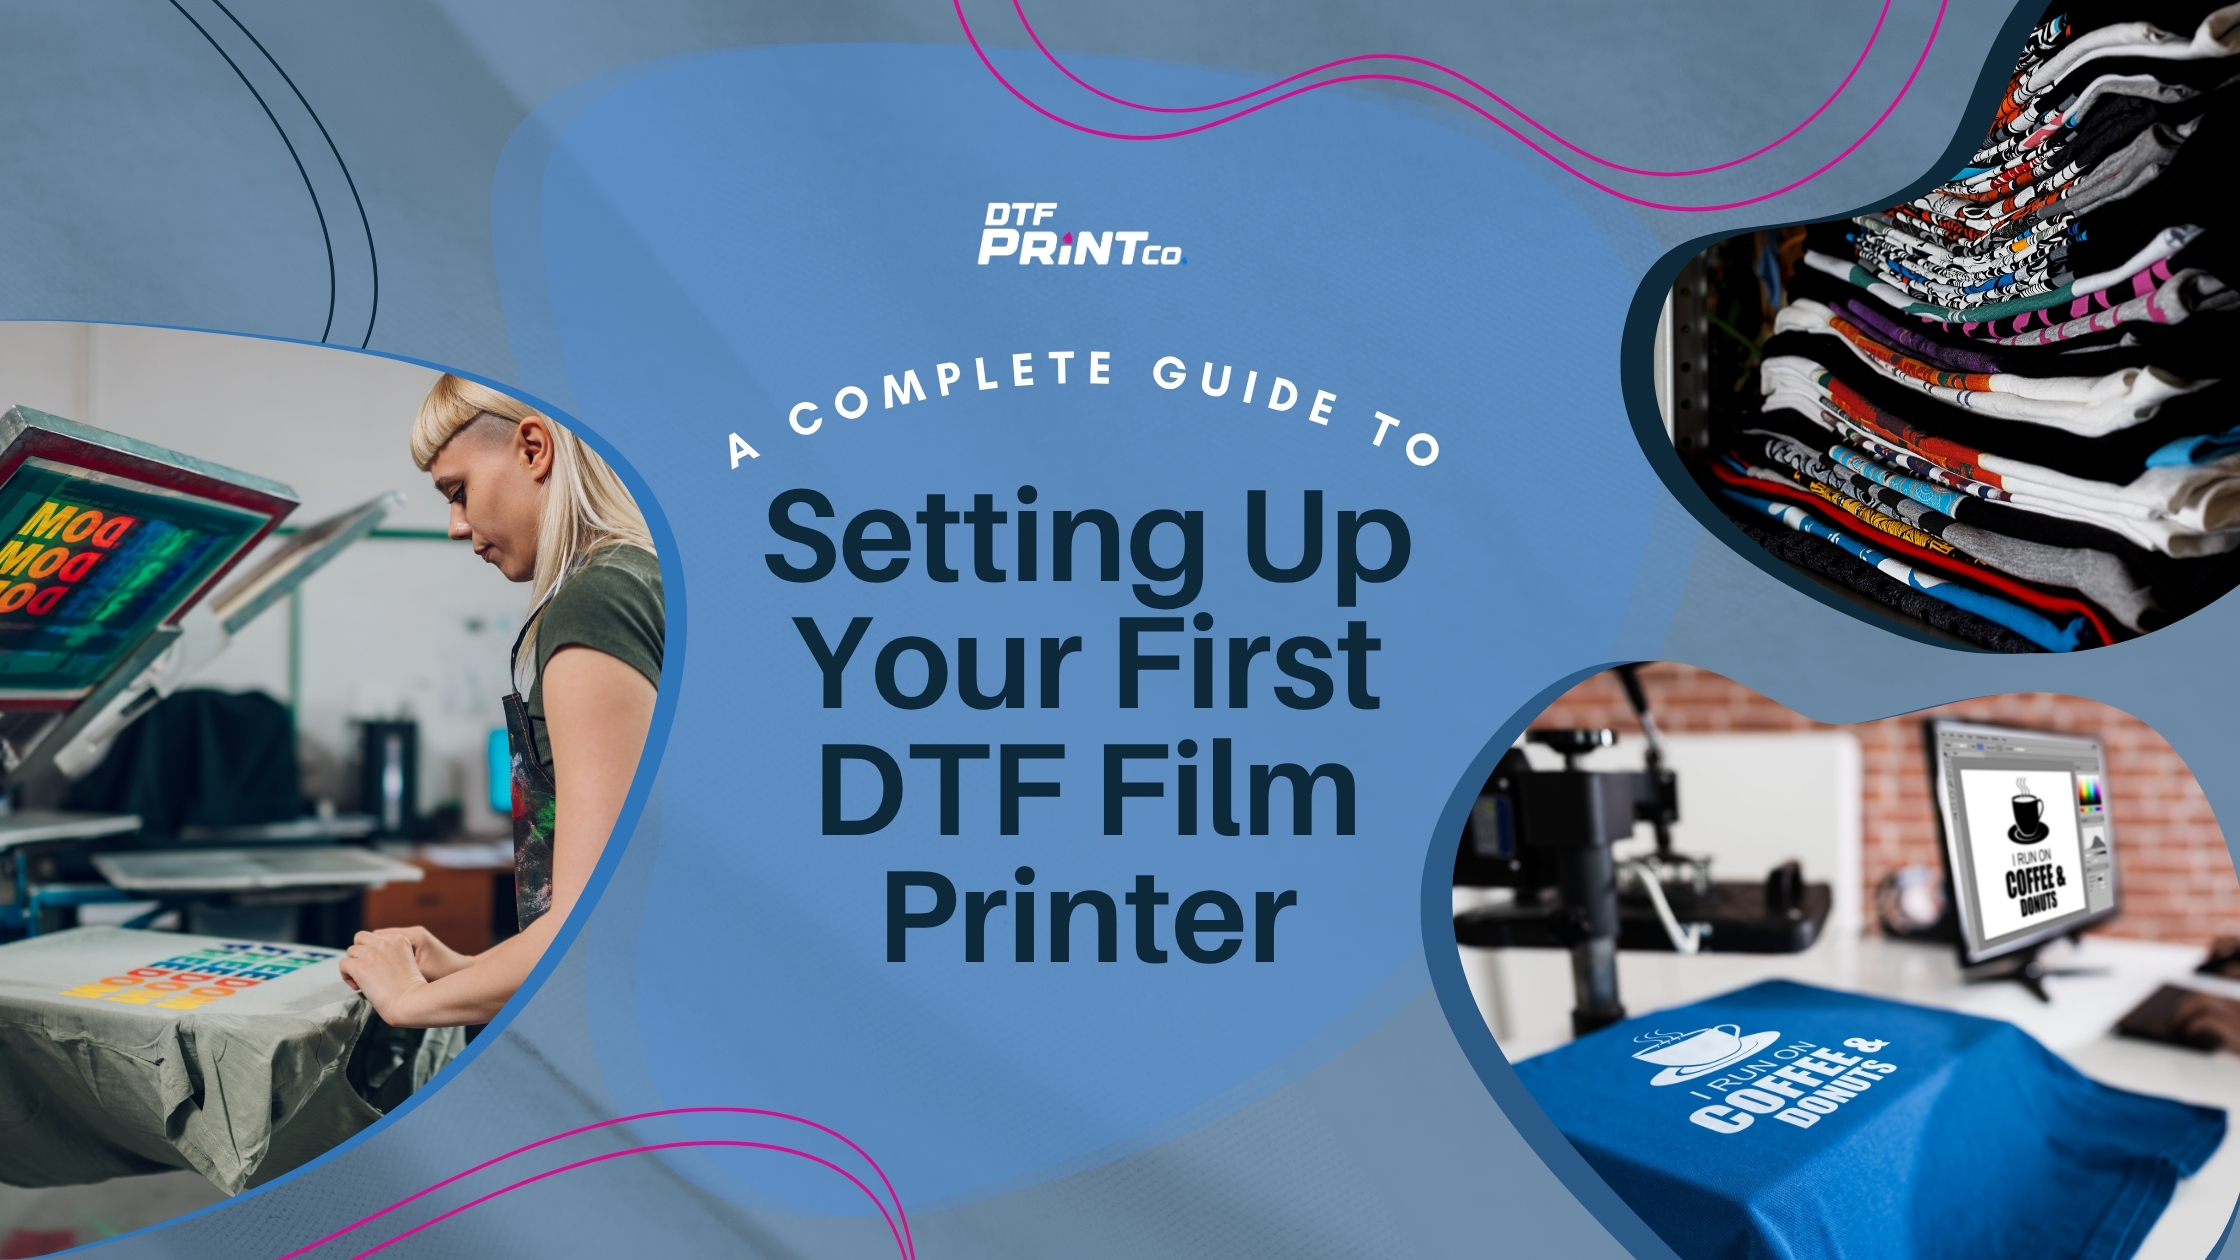
A Complete Guide to Setting Up Your First DTF Film Printer
You’ve opened the box, and your brand-new DTF printer is finally here. Excitement kicks in, but you quickly realize there’s a lot to learn. DTF (Direct-to-Film) printing is one of the hottest trends in custom apparel today, promising vibrant colors, soft prints, and versatility on almost any fabric. But before you dive in, getting set up correctly is crucial for top-quality prints and keeping your printer running smoothly for years.
In this comprehensive, beginner-friendly guide, you’ll learn exactly what DTF printing is, how to set up your printer from start to finish, and how to produce your first stunning print. We’ll also cover maintenance tips and practical troubleshooting steps to avoid common issues along the way.
Whether you’re launching a small clothing brand, customizing merchandise, or simply printing for fun, mastering your DTF setup is the first step toward consistently beautiful, durable prints.
What Is DTF Printing and Why Choose It?
DTF printing, or Direct-to-Film printing, involves printing designs onto a special heat-resistant PET film using vibrant, specialized inks. After printing, an adhesive powder is applied, and the print is cured with heat before transferring it onto garments. Unlike traditional methods, DTF doesn’t require screens or pretreatment, saving time and cost while offering unmatched flexibility.
Compared to other popular methods like DTG (Direct-to-Garment) or sublimation, DTF stands out for several reasons:
- Versatility: Works on cotton, polyester, blends, and even darker fabrics without pretreatment.
- Vibrant Colors and Detail: Achieves high-resolution, detailed images with rich, full-color prints.
- Cost-Effective: Ideal for small batches, custom orders, and intricate designs without the setup costs of screen printing.
- Durability and Comfort: Produces soft, durable transfers that withstand washing better than many alternatives.
As an example, imagine printing a detailed, colorful graphic on a dark cotton hoodie without worrying about fading or cracking after just a few washes. That’s the power of DTF printing. It bridges the gap between DTG printing and heat transfer vinyl (HTV), combining the vibrant color capabilities of digital printing with the durability and simplicity of transfers.
Components of a DTF Printing Setup
Setting up your DTF printer involves more than just the printer itself. Think of your setup as a carefully coordinated ecosystem of hardware, ink, film, and software, all working together seamlessly.
Here are the core components you’ll need:
- DTF Printer: Typically, a modified inkjet printer (often Epson-based) capable of printing white ink.
- DTF Ink: Specialized inks (CMYK + White + Fixative) formulated for PET film printing.
- PET Film: Heat-resistant transparent film onto which the ink is directly printed.
- Adhesive Powder Shaker: Applies a fine adhesive powder to bond the ink to fabric.
- Heat Press or Curing Oven: Melts the adhesive powder and cures the print, preparing it for transfer.
- Software (RIP software): Controls color accuracy, ink density, and image quality. Popular choices include Wasatch, Neocraft, and Ultera.
- Cleaning and Dusting Tools: Brushes, lint rollers, and isopropyl alcohol to maintain cleanliness and prevent print issues.
Your printer is just the beginning—successful DTF printing relies on every component working perfectly together. With careful setup and consistent maintenance, you’ll be ready to create eye-catching prints quickly and reliably
Choosing the Right DTF Printer & Step-by-Step Setup Guide
Choosing the Right DTF Printer for Beginners
Selecting the right DTF printer can feel overwhelming, especially if you’re new to printing. The market is full of choices, from budget-friendly kits to professional-grade setups. Making the right choice upfront saves you headaches and ensures you’re investing wisely.
Here’s what beginners should consider when picking a DTF printer:
- Print Width: Typical widths include 17-inch, 24-inch, or 36-inch models. For most beginners, a 17-inch printer is versatile enough for T-shirts, hoodies, and small batches.
- Print Head Type: Epson PrecisionCore heads offer higher resolution and reliability. Piezo heads, common in Epson-based printers, provide good print quality at lower costs.
- Included Software and Support: Good software like Wasatch or Neocraft is critical for color accuracy. Look for bundles including RIP software, training resources, and customer support.
- Brand Reputation: Trusted brands such as Aullent, VEVOR, or EPI provide quality products and reliable customer service. Avoid ultra-cheap, unknown brands to prevent maintenance nightmares.
- Budget vs. Long-Term ROI: Balance initial cost with durability and reliability. Spending slightly more initially often pays off in reduced downtime and better print quality long-term.
For beginners, recommended DTF printer models include:
- Aullent DTF160 (17-inch): User-friendly, comes with RIP software, and reliable support.
- VEVOR DTF-24 (24-inch): Ideal for moderate-volume businesses with user-friendly features and good reliability.
Remember, cheaper isn’t always better. A mid-range printer with strong after-sales support is often the best choice to get started with confidence.
Step-by-Step Setup Guide for Your DTF Printer
Proper setup is essential for successful DTF printing. Follow these steps carefully to get your printer up and running smoothly.
Unboxing and Initial Inspection
When your printer arrives:
- Check that all components match the user manual.
- Look for shipping damage, especially on sensitive parts like the print head and rails.
- Ensure the print head carriage moves freely along the rails without resistance.
- Save all packaging in case you need to return or service the printer.
Taking a few minutes for a thorough inspection avoids costly issues later.
Installing Printer Software and Drivers
Your printer needs proper software to control ink flow, color, and print quality.
- Install manufacturer-recommended RIP software like Wasatch, Neocraft, or Ultera.
- Connect your printer via USB or network connection as instructed.
- Run initial calibration and nozzle checks.
- Configure print profiles for DTF PET film, including resolution (1440 x 1440 dpi), media type, and ink density.
Important tip: Never rely solely on default printer drivers. Always use RIP software for accurate color reproduction and white ink management.
Loading DTF Ink and Priming the System
Correct ink loading is critical for avoiding clogged nozzles and poor print quality:
- Fill ink reservoirs (Continuous Ink Supply System or cartridges) with CMYK + White + Fixative inks as indicated.
- Always prime the white ink lines first, as clogged white ink nozzles are the most common issue in DTF printing.
- Run cleaning cycles to flush air bubbles from lines, but avoid excessive cleaning to prevent print head damage.
- Never mix different ink brands or formulas, as this may cause clogs or color issues.
Loading and Aligning DTF Film
Film alignment directly affects print quality:
- Load PET film into the tray or roll feeder, adjusting paper guides to prevent skewing or misalignment.
- Run a quick test print to ensure the film moves smoothly through the printer without wrinkles or shifting.
- Choose between glossy or matte PET film (75–100 micron thickness), depending on your preference and application.
Taking time to align and tension the film properly prevents ghosting, smearing, or incomplete transfers.
Calibrating Your DTF Printer & Producing Your First Print
Calibrating Your Printer for Optimal Results
Proper calibration is essential for achieving vibrant colors, sharp details, and consistent prints every time. Without careful calibration, your prints could look faded, blurry, or uneven. Here’s how to calibrate your DTF printer effectively:
Running Nozzle Checks and Head Alignments
Regularly checking your printer’s nozzles helps prevent common printing problems:
- Run nozzle checks weekly, after ink refills, or whenever you notice print issues.
- A proper nozzle check pattern should show clear, unbroken lines for each ink color.
- If lines appear missing or broken, run a quick cleaning cycle, but avoid excessive cleaning, as this can dry out or damage the print head.
- Use the printer’s software to align print heads and reduce banding or misaligned prints.
Remember: A 5-minute nozzle check saves hours of troubleshooting later on.
Setting Up Color Profiles and Print Modes
Accurate color depends heavily on your printer’s ICC color profiles and RIP settings. Here’s how to get it right:
- Begin by using the manufacturer-provided ICC profiles designed specifically for your printer and ink combination.
- Adjust settings such as resolution (1440 x 1440 dpi is recommended), white ink density, and fixative levels.
- Perform test prints on scrap film before starting production runs. Fine-tune color and ink density settings based on your tests.
- Find a balance: Too much white ink can cause cracking, while too little may allow fabric color to show through.
By adjusting settings carefully, you’ll achieve vibrant, long-lasting prints that customers love.
Your First DTF Print: From Design to Transfer
Now that your printer is calibrated and ready, it’s time to create your very first print. Follow these steps to ensure your design transfers perfectly to fabric.
Designing or Preparing Your Artwork
Your design is the foundation for every great DTF print:
- Use high-resolution raster or vector graphics at a minimum of 300 DPI.
- Always mirror your image (flip horizontally) because the print transfers to the garment face-down.
- Outline all text and embed fonts to avoid rendering issues or font substitutions.
- Recommended software includes Adobe Illustrator, Photoshop, or Cricut Design Space.
Design tip: If you skip mirroring your artwork, your print will appear reversed on the garment, wasting time and materials.
Printing on DTF Film
Once your design is ready:
- Load the PET film and select the appropriate print mode in your RIP software.
- Monitor the print closely, especially at the start, to ensure ink lays down evenly.
- Remember the order: Your printer deposits white ink first, then CMYK colors, and finally a fixative layer.
- Allow each layer to dry slightly before handling or applying powder.
Proper drying between layers reduces the risk of smearing or incomplete transfers.
Applying Adhesive Powder and Curing
Applying adhesive powder correctly ensures strong, durable transfers:
- Immediately after printing, use an adhesive powder shaker (manual or automatic) to evenly coat the print.
- Shake off excess powder gently or use a blower to remove it—excess powder causes stiffness, while too little can lead to peeling.
- Cure the print using a heat press (150°C for 2 minutes) or a conveyor oven (160°C for 2–3 minutes) to melt the powder and seal the ink.
Uniform powder coverage is key—this ensures the print bonds perfectly to the garment, surviving numerous washes without cracking or peeling.
Transferring to Fabric
Now, transfer your design onto the fabric:
- Place the printed film face-down onto your garment.
- Use a heat press at 160°C for about 15–20 seconds with medium pressure.
- Peel the film either hot (immediately after pressing) or cold (after the print cools), based on your film manufacturer’s recommendations.
- Allow the garment to cool before wearing or further handling to ensure the print fully sets.
Remember: Hot peel is faster but riskier, while cold peel reduces distortion risk, especially for intricate designs.
Maintaining Your DTF Printer & Troubleshooting Common
Maintenance Tips to Extend Printer Life
Proper maintenance prevents downtime, saves money, and ensures consistently high-quality prints. Regular cleaning and care will help your DTF printer last longer and run smoothly. Follow this easy checklist to keep your printer performing at its best:
Daily, Weekly, and Monthly Maintenance Checklist
- Daily Maintenance:
- Run a quick nozzle check before starting your daily print jobs.
- Clean the printer’s exterior and workspace to avoid dust buildup.
- Perform a short cleaning cycle if nozzle checks indicate issues.
- Weekly Maintenance:
- Deep clean the print head and capping station with recommended cleaning solutions.
- Check ink levels, topping up inks to avoid air bubbles.
- Clean your adhesive powder station thoroughly to prevent contamination.
- Monthly Maintenance:
- Lubricate the printer rails lightly to keep the print head carriage moving smoothly.
- Inspect the wiper blade for damage or ink buildup and replace if necessary.
- Recalibrate your printer for color accuracy and consistent output.
A small daily effort prevents bigger issues down the line. Even a five-minute nozzle check each day can eliminate hours of future troubleshooting.
Preventing Clogs and Ink Sedimentation
Clogs and ink sedimentation are common but avoidable problems in DTF printing:
- Always shake your white ink thoroughly before use, as white ink settles quickly.
- Run your printer every 2–3 days, even briefly, to keep the ink lines flowing.
- Store ink bottles properly—in cool, dark locations—to prevent ink from drying or clumping.
- Avoid excessive automatic cleaning cycles, as they can dry out your print head.
Remember: Preventing clogs is always easier than fixing them. Regular use and gentle maintenance are your best tools.
Troubleshooting Common DTF Setup Issues
Despite careful setup and maintenance, occasional problems can arise. Here’s how to solve three of the most common DTF printing issues quickly:
Blurry Prints or Misalignment
- Common Causes:
- Loose or skewed PET film.
- Dirty or slippery feed rollers.
- Incorrect film tension or alignment.
- Quick Solutions:
- Adjust and properly seat your film, ensuring it’s straight and secure.
- Clean feed rollers regularly with isopropyl alcohol to ensure good film grip.
- Run printer alignment calibrations through your RIP software.
White Ink Not Printing or Printing Unevenly
- Common Causes:
- Clogged or dried-out white ink nozzles.
- Air bubbles in ink lines.
- Incorrect ink levels or mixing incompatible inks.
- Quick Solutions:
- Perform a targeted white ink cleaning cycle or manually flush lines if severely clogged.
- Check ink dampers and priming systems to remove air bubbles.
- Ensure proper ink storage and avoid mixing different brands.
Powder Not Sticking to Prints
- Common Causes:
- Fixative layer not properly applied or missing.
- Ink drying before powder application.
- Environmental factors such as low humidity.
- Quick Solutions:
- Increase the amount of fixative applied through your RIP software settings.
- Apply adhesive powder immediately after printing—don’t wait.
- Control workspace humidity (40–60% recommended) to prevent overly dry conditions.
Upgrading and Scaling Your DTF Operation
As your skills improve and your printing business grows, consider these upgrades to streamline your workflow:
- Automated adhesive powder systems to save labor.
- Larger printers (24-inch or 36-inch) for higher production volume.
- Conveyor ovens for faster, more consistent curing.
- Software tools for design management, inventory control, and batching.
When you’re consistently printing 20 or more garments a day, automation becomes a smart investment that can save you time, money, and energy.
Safety and Workspace Best Practices
Safety isn’t just essential for your well-being; it directly impacts print quality and efficiency. Follow these practical safety tips:
- Maintain good ventilation, as DTF inks emit mild fumes.
- Keep inks and films stored away from direct sunlight and moisture.
- Use proper PPE (personal protective equipment), including gloves when handling inks and powders.
- Keep curing ovens and heat presses away from flammable materials.
A well-organized, ventilated workspace improves safety and productivity, ultimately leading to better printing results.
Conclusion and Key Takeaways
Mastering DTF printing involves more than just pressing a button. It’s a process combining equipment, preparation, calibration, maintenance, and problem-solving skills. Here’s what you’ve learned:
- DTF printing offers versatile, vibrant prints suitable for all fabrics.
- Proper setup, including software calibration and ink priming, ensures consistent quality.
- Regular maintenance and preventive care avoid costly downtime.
- Quick troubleshooting helps resolve common issues fast, saving you stress.
- Upgrading your equipment strategically supports growth and efficiency.
Now that you’re equipped with all this knowledge, it’s time to print confidently and consistently. Your creativity is the only limit!
FAQ
Do I need a special printer for DTF printing?
Yes. Most DTF printers are modified Epson or Piezo inkjet printers that can handle white ink and high-viscosity DTF inks. Standard consumer printers won’t work.
How long does it take to set up a DTF printer?
Initial setup takes 2–4 hours, including software installation, ink priming, and calibration. First test prints may take additional time to perfect.
Can I use any type of film for DTF printing?
No. Use only DTF-specific PET film (75–100 microns). Regular transparency sheets won’t hold ink or powder properly.
Why is my DTF print cracking after washing?
Cracking is usually due to too much white ink, insufficient curing, or incorrect powder application. Adjust ink density and ensure full curing.
How do I clean a clogged DTF print head?
Use the printer’s cleaning cycle first. If that fails, manually flush with DTF head cleaning solution. Avoid harsh solvents that can damage nozzles.

