What Fabrics Work Best with DTF Film?
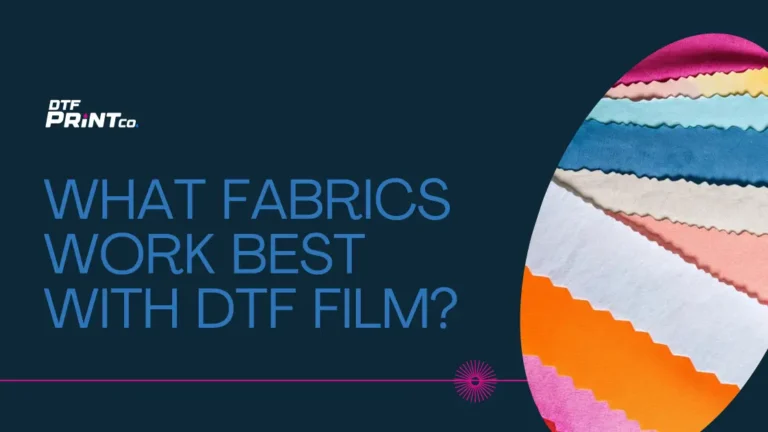
Choosing the right fabric is the #1 factor in ensuring the success of your DTF (Direct-to-Film) printing projects. DTF printing is rapidly gaining popularity because

Producing DTF (Direct-to-Film) transfers has revolutionized the custom apparel industry. This method allows creators to print high-quality designs onto films that are then transferred onto garments.
It’s a highly versatile process and works on various fabrics, including cotton, polyester, and blends, making it ideal for t-shirts, hoodies, and more.
Whether you’re new to DTF transfers or looking to refine your skills, understanding the entire process from concept to creation is crucial. This guide provides a comprehensive breakdown of every step, ensuring that your designs are both durable and visually striking.
Before diving into the actual steps, it’s essential to understand the DTF transfer process. Unlike traditional heat transfer methods, DTF allows for vibrant colors and more detailed designs on fabrics.
At its core, DTF printing involves printing a design on a special PET (Polyethylene Terephthalate) film and then transferring it onto the fabric using heat. The process combines elements from both screen printing and sublimation, offering superior flexibility and durability.
Benefits of DTF Transfers
The design phase is the most creative part of the process. Whether you’re creating designs for a client or for personal use, it’s crucial to have a clear vision. Here’s how to approach this step:
Once your design is finalized, the next critical step is preparing your DTF printer. Ensure the following equipment is ready:
After setting up the printer, the next step is printing the design on the PET film. Here’s how you can do it effectively:
After the design has been printed onto the PET film, it’s time to apply the adhesive powder. This step is critical to ensure that your design adheres to the garment properly. Follow these guidelines:
Now that your design is printed and adhesive has been applied, it’s time to transfer the design onto the fabric. This is where the magic happens:
After the design has been transferred to the fabric, there are a few finishing touches that can make a significant difference in the final result:
Once the DTF transfer process is complete, the durability of your design is crucial. DTF transfers are known for their strength, but here are a few tips to ensure longevity:
Producing DTF transfers is relatively cost-effective compared to other printing methods. Here’s a breakdown of costs and efficiency:
Even with experience, problems can occur. Here are a few common issues and solutions:
By following these steps and paying close attention to detail, you can produce high-quality DTF transfers that not only look great but also stand the test of time.
What kind of printer do I need for DTF transfers?
To produce DTF transfers, you’ll need a dedicated DTF printer or a modified inkjet printer that supports DTF inks. DTF printers are designed to handle the specialized ink and PET film required for this process. Brands like Epson are often modified for DTF printing, but you can also find printers specifically built for DTF transfers. Ensure that the printer is compatible with CMYK and white inks, as white is necessary for printing on dark fabrics.
Can DTF transfers be applied to any fabric?
Yes, one of the significant advantages of DTF transfers is their versatility. DTF transfers can be applied to a wide range of fabrics, including cotton, polyester, nylon, leather, and blends. Unlike other methods like sublimation, which work primarily on polyester, DTF transfers can produce high-quality results on both light and dark garments, making them a great choice for custom apparel businesses catering to various fabric types.
How do I prevent my DTF prints from fading?
To prevent DTF prints from fading, it’s essential to follow proper washing and care instructions. Always wash garments inside out in cold water and avoid using bleach or strong detergents, which can break down the adhesive and ink. Additionally, opt for air drying or use a low-heat tumble dry setting to protect the print. By following these guidelines, DTF prints can maintain their vibrant colors and durability over many washes.
What’s the difference between hot peel and cold peel PET film?
The main difference between hot peel and cold peel PET film is when you remove the film from the garment after pressing. With hot peel film, you can peel the film off immediately while it’s still warm, speeding up the process. Cold peel film, on the other hand, requires you to wait until the garment cools down before peeling, which can result in a smoother finish. Your choice between the two will depend on the type of finish you prefer and the speed of your production process.
How long do DTF transfer designs last on garments?
DTF transfer designs are known for their durability and can last a long time when properly cared for. Typically, a well-applied DTF transfer can withstand up to 40-50 washes without significant fading, cracking, or peeling. However, longevity depends on following recommended washing guidelines (cold water, inside-out washing, and air drying) and using high-quality materials like durable inks, PET films, and adhesives.
Is DTF transfer better than screen printing for small batches?
Yes, DTF transfer is often a better option than screen printing for small batches. Screen printing can be labor-intensive and cost-effective only for larger runs, as each color requires a separate screen. DTF transfers, however, allow for full-color prints without the need for additional screens or setup, making it ideal for smaller orders or highly detailed, multi-color designs. DTF also offers more flexibility, enabling printers to handle custom, one-off orders efficiently.

Choosing the right fabric is the #1 factor in ensuring the success of your DTF (Direct-to-Film) printing projects. DTF printing is rapidly gaining popularity because

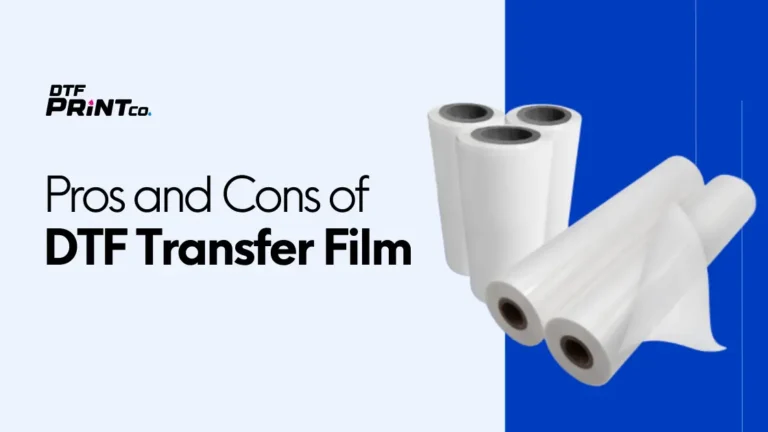
DTF transfer film offers vibrant, durable prints on multiple fabric types with fewer setup costs than screen printing. It’s ideal for small batches and complex

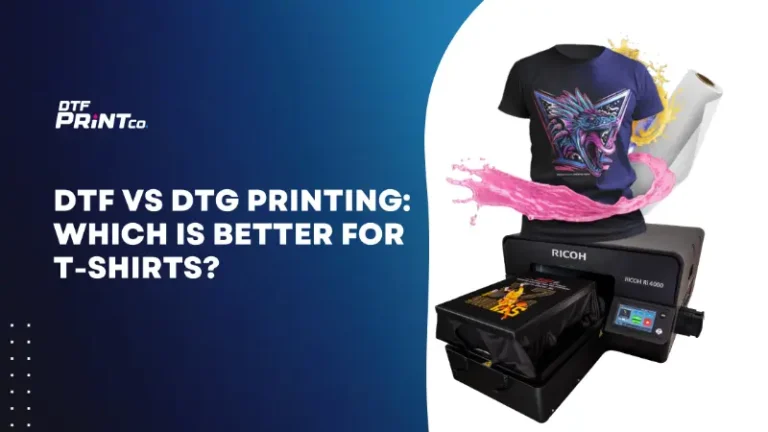
Both DTF (Direct-to-Film) and DTG (Direct-to-Garment) printing are popular methods for customizing t-shirts, but each method has its strengths. DTF printing works well on various

2023 - 2024 © ALL RIGHTS RESERVED