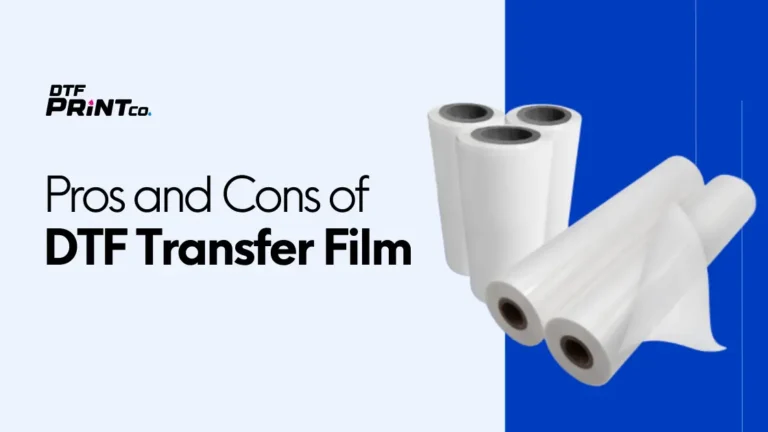
Pros and Cons of DTF Transfer Film: Should You Use It in 2025?
DTF transfer film offers vibrant, durable prints on multiple fabric types with fewer setup costs than screen printing. It’s ideal for small batches and complex

Direct-to-film (DTF) printing is revolutionizing the custom apparel and merchandise industry. It offers vibrant, detailed prints on various surfaces, making it a favorite among designers and entrepreneurs. However, to achieve the best results, you need to prepare your designs meticulously. Let’s delve deeper into the best practices for getting your artwork ready for DTF printing, ensuring your prints are sharp, colorful, and true to your vision.
Before we dive into the specifics of design preparation, let’s understand what DTF printing is all about. Unlike direct-to-garment (DTG) printing, DTF involves printing your design onto a special film, which is then transferred onto the fabric using heat. This method is excellent for detailed designs and works well on various materials, from cotton to polyester.
DTF printing is particularly advantageous for:
Resolution is a critical factor in printing. It determines how clear and sharp your image will appear. For DTF printing, you want to ensure your designs are crisp and detailed, even when viewed up close.
When preparing your designs, aim for a resolution of at least 300 DPI (dots per inch). This ensures that your images and text remain sharp, even when printed on fabric. Lower resolutions can result in pixelated or blurry prints, which is not the look you’re going for.
Not all image formats are created equal. For DTF printing, stick to high-resolution formats like:
Color mode is another critical aspect of design preparation. For printing, CMYK is the way to go. CMYK stands for Cyan, Magenta, Yellow, and Key (Black), and it’s the standard for printing because it produces more accurate colors.
RGB (Red, Green, Blue) is great for digital displays but can be less accurate when printed. Colors that look vibrant on your screen might appear dull or different when printed in RGB.
Complex designs with too many small details can be challenging to print clearly. Simplify your designs by focusing on the essential elements and avoiding unnecessary clutter. This not only makes the design easier to print but also makes it more impactful.
Sharp lines and well-defined shapes print better than blurry or semi-transparent designs. Make sure your design elements have clear outlines. This is especially important for text and logos, where clarity is crucial.
Using three primary colors in your design can give it dimension and vibrancy. This doesn’t mean you can’t use more colors, but having a core palette of three can help create a cohesive look. The rule of three colors is a simple yet effective way to ensure your design is visually appealing.
I once worked on a project where the client insisted on a highly detailed design with lots of small text. Despite my advice, they wanted to proceed. The final print was disappointing, with much of the detail lost. It was a valuable lesson in the importance of simplifying designs for printing. Since then, I always emphasize the need for clear, well-defined elements in print designs.
Before committing to a full print run, test your design on a small piece of DTF film. This allows you to see how the design translates to the medium and make any necessary adjustments. Small-scale testing can save you time and money by catching issues early.
There are plenty of resources online, including videos, that can provide additional tips and tricks for DTF printing. Watching tutorials can give you a better understanding of the process and help you refine your designs. Learning from experts can provide valuable insights and help you avoid common pitfalls.
Preparing your designs for DTF printing involves attention to detail and a good understanding of resolution, color modes, and file types. By following these best practices, you can ensure that your prints are vibrant, sharp, and true to your vision. Whether you’re a seasoned designer or just starting out, these tips will help you create stunning, professional-looking prints that stand out.
To prepare images for DTF printing, ensure they are high-resolution (at least 300 DPI) and use the CMYK color mode for accurate color reproduction. Use vector graphics for designs with text or sharp lines, and avoid semi-transparent elements.
To make DTF prints more vibrant, use a color palette with high contrast and saturation, and stick to the rule of three colors to add depth. Test your design on a small piece of DTF film to check color accuracy before a full print run.
Prepare a design for printing by simplifying it to focus on key elements and using sharp, well-defined lines. Convert your design to CMYK color mode early in the process and use high-resolution file formats like PSD, PNG, or TIFF.
The best resolution for DTF printing is at least 300 DPI to ensure sharp and clear images. This resolution helps maintain detail and clarity, even when the design is printed on fabric.
To prepare a file for DTF print, save it in a high-resolution format like PSD, PNG, or TIFF, and ensure it’s in CMYK color mode. Avoid using low-resolution formats or RGB color mode, which can affect print quality.
The best export settings for DTF printing include using CMYK color mode and a resolution of at least 300 DPI. Save your file in a high-resolution format like PSD, PNG, or TIFF to maintain quality and detail.

DTF transfer film offers vibrant, durable prints on multiple fabric types with fewer setup costs than screen printing. It’s ideal for small batches and complex

Both DTF (Direct-to-Film) and DTG (Direct-to-Garment) printing are popular methods for customizing t-shirts, but each method has its strengths. DTF printing works well on various

Direct To Film (DTF) printing is rapidly becoming a popular choice for custom apparel and garment decoration. Unlike traditional screen printing or direct-to-garment (DTG) methods,

2023 - 2024 © ALL RIGHTS RESERVED